Ripple
Ripple layers are a stack of satellite layers with a zoomlevel depending on viewing height. The ripple layer is intended to be used when you have to zoom in on a map or zoom out. While zooming the ripple layer stays sharp all the time without having to download thousands of map images on the highest zoomlevel.
The ripple layer uses two locations instead of one. Each location has offsets and an altitude. The zoomlevel which is used can’t be specified manually but is calculated based on the viewing altitude and your render resolution. Besides that, the ripple layer creates a simple camera animation of the zooming motion. There’s a special preview mode to plan your shots without having to download map images all the time.
Zooming into Las Vegas
It’s also possible to get a similar effect by creating a stack of map layers manually. It’s a lot of work but gives you more control over the placement of the map layers. Check it out here.
Two locations
A ripple layer has two locations: a starting location and an ending location. The ripple map creates multiple ripples based on the movment between these two positions. Actually, the altitudes are the most important settings. If both locations have the same altitude, the ripple layer doesn’t add any value. This means the ripple map is best suited for zooming motions. A second use case is when you create a static map looking towards the horizon from a low altitude. These shots usually need a sharp map in the foreground and require a blurry map towards the horizon.

Both locations have the same offset (0,0). The start location has an altitude ot 10 KM, the end location 500 KM. This means we’re zooming out.
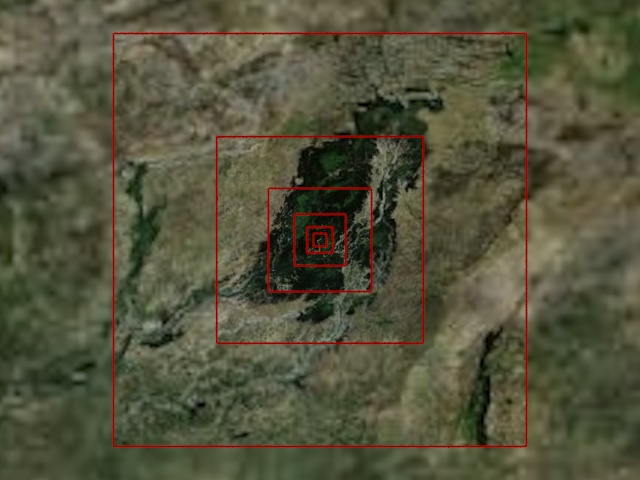
Each red box is a separate ripple with a decreasing zoomlevel while zooming out. Notice the different levels of sharpness of each box (the effect has been exaggerated)
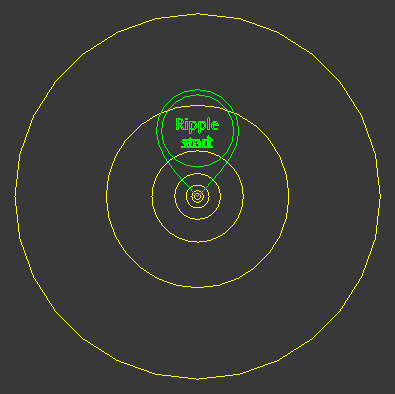
The circles are the ripples previewed in the viewport. the size of the circle matches the size what the camera can see with a bit of margin.

Enable the option “Preview only” if you just want to see the ripples and not the actual maps. This is very handy for previews.
Multiple maps
The ripple layer creates multiple satellite layers but this is hidden from you. You don’t have to manage them manually. Each satellite map is created based on the offsets of the start and end location. More importantly, the zoomlevel of the map is determined based on the altitude of the start and end location. If you have a low altitude (you’re close to the earth) you need a high zoomlevel. If you have a high altitude it’s the other way round. Each time your altitude doubles, you decrease one zoomlevel.
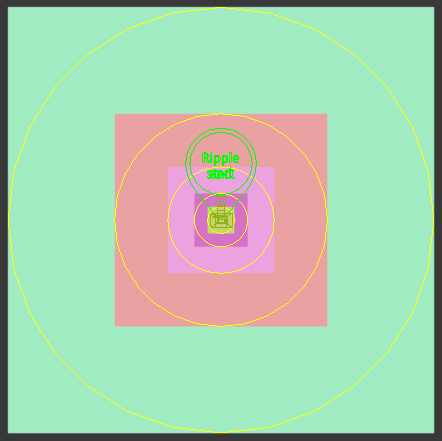
One ripple map consists of multiple layers
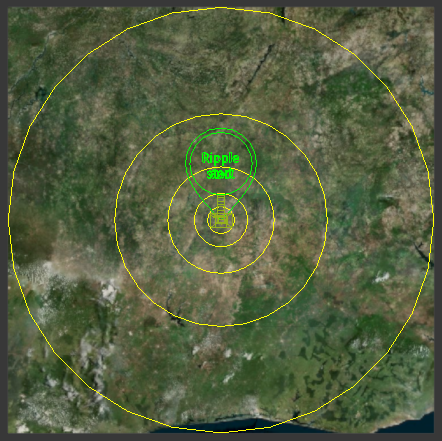
One ripple map consists of multiple layers
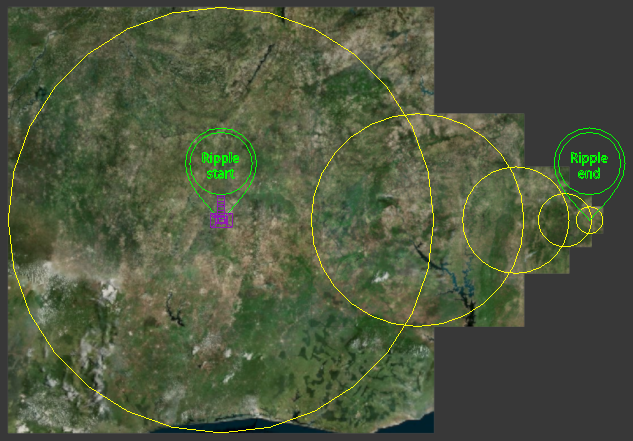
Moving the locations apart clearly shows the separate layers
Render resolution
The map resolution is based on the viewing altitude. But what happens if you start rendering HD images of your map. Doesn’t the map need to be sharper than when rendering images of 256 pixels wide? Yes it does! The viewing altitude is one factor to determine the chosen zoomlevel. Output size also plays a part. By default the ripple layer assumes an output size of 640. This means your maps will look sharp if you render them at 640 pixels wide. If you render at 1920 pixels wide this map looks pretty awful. In that case, set the output size to 1920 and update your map images. Building the map images will take longer since maproom has to download more images.

Specify the render size to make sure your maps are sharp when rendered.
Camera animation
The ripple layer creates a camera animation for you. You don’t need to use it, but it’s great for reference. Zooming into a map looks best when the velocity of the camera is exponential. If you’re far away you want to move faster, once you get close to the map you have to decrease your speed. The rate of change ideally is exponential which is also how the created camera behaves. Since the size of each ripple doubles when the altitude doubles, this means the camera visits each ripple at constant time intervals. You can set the time interval in the ripple settings.

Set the time interval to specify the number of frames between each ripple
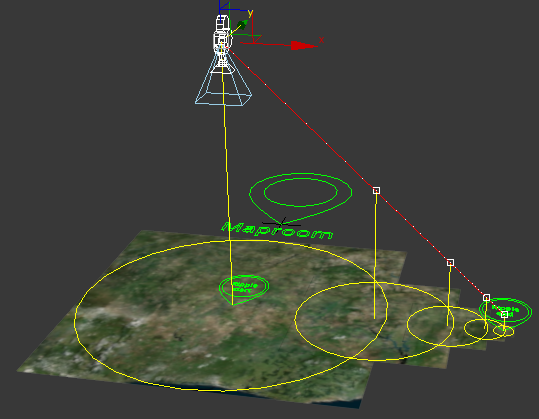
The camera visits each ripple in regular intervals
Overlap
If the distance between the start and end location becomes too great, gaps might appear in the map. This happens because the individual ripples don’t have enough overlap. You can avoid this by increasing the overlap when building the map. The overlap factor allows you to double the map size at a maximum.

Setting the overlap to 1.0 doubles the size of the map.
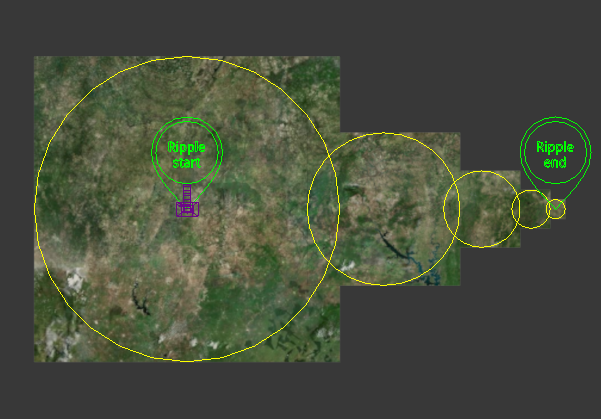
The ripples are spaced too much. Gaps will occur at the edges of the map when rendering it.
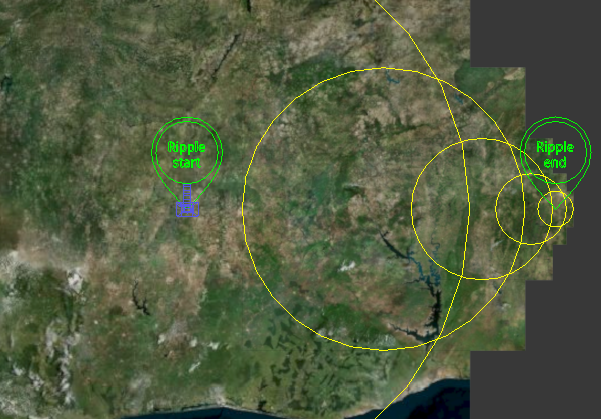
Increasing the overlap factor adds more “flesh” to the maps giving you more freedom in camera movement.
Z gap
The ripples are stacked on top of each other. They’re spaced slightly apart to avoid z fighting. The amount of spacing (in meters) is called the z gap. You can set this to a value between 0.1 m and 100 m.

In this case there’s a gap of 10 meters between each ripple.
Static maps
A ripple layer is also very suited to create shots where a low camera looks at the horizon. You need a sharp map in the foreground, but near the horizon the map can have a low resolution.
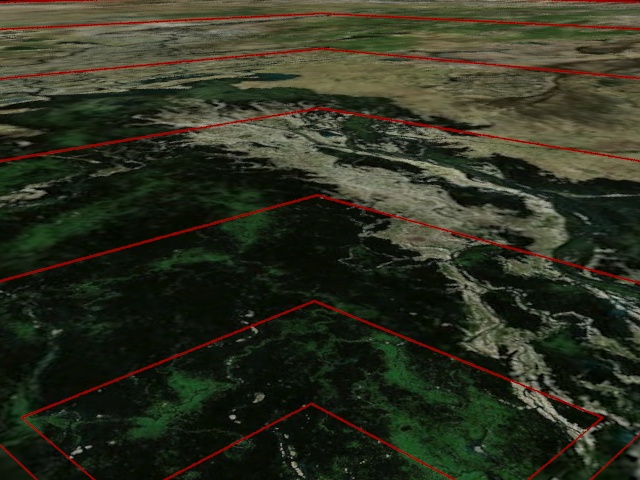
This map is sharp overall but has a much higher zoomlevel in the foreground than in the background
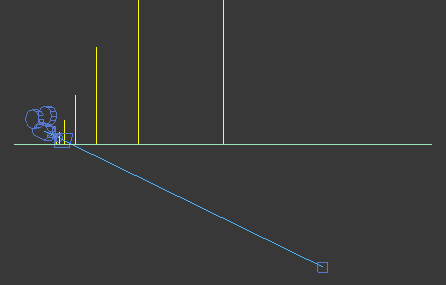
A low camera looking towards the horizon
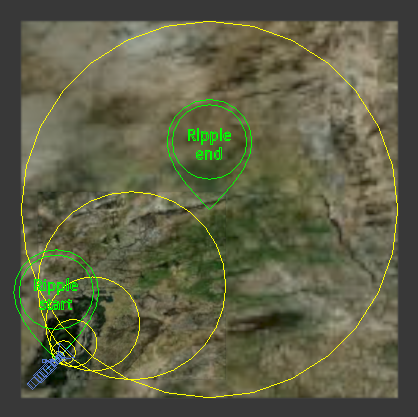
Plan your map with the camera near the starting position and looking at the ending position