Openstreetmap
OSM layers use openstreetmap data and consist of shapes. Shapes can either be closed, such as outlines of buildings or parks, or shapes can be open, such as centerlines of roads and waterways. You can either get the entire OSM dataset for an area or pick the elements you want before downloading and drawing the data. OSM data can get very dense, especially in urban areas. It’s not advised to use OSM to get large objects, such as the borders of a country or all railroads of a state. Use the Shapefile layer for that.
Since this is open source data make sure to attribute openstreetmap and its contributors in your final results.
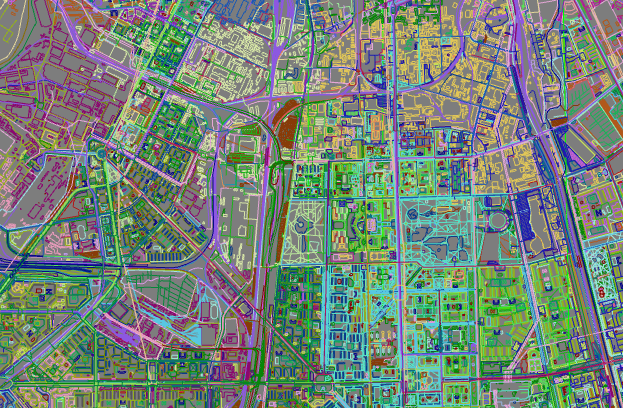
OSM data can get very dense and unsuitable for larger maps. Try to filter what you need.
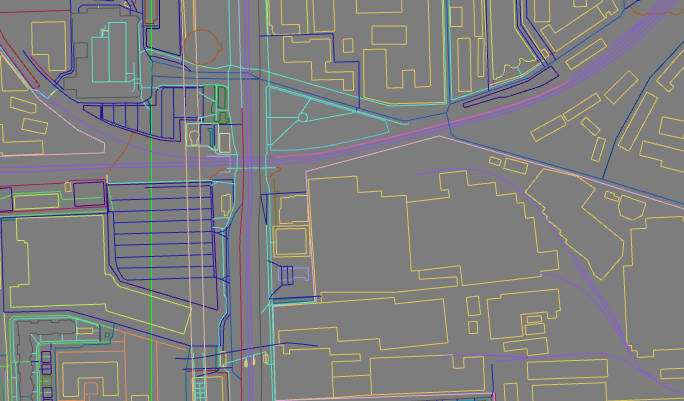
Smaller areas are very well served with osm data. You can use the buildings and roads to quickly create environments.
Once the shapes have been created in your scene you can make geometry based on these shapes. You can do this manually or use the Stylesheet feature to generate the geometry for you.
Query
OSM data is fetched by a query. This query specifies which area you want to download (this is determined in the location panel of the layer) and what should be in it. You can query the complete osm data of an area but you can also be more specific. For instance get only the buildings or parks. Or really drill down to get streets with a specific name or all firestations. Keep in mind this data is maintained by a community and might not be accurate or complete. On the other hand, the osm community is very fast to respond when disasters happen and creates maps of the affected areas within hours. There are four query levels: Full OSM, Layer, Key=Value and From file.
Full OSM
Full OSM gets all osm data of a specific area. When the data is imported into 3ds Max as shapes, objects with the same labels are being merged together to improve performance. This means highways are merged together and buildings are merged together. They aren’t mixed. The merged objects get an appropriate name. This makes it easier to edit them afterwards.

The query has been set to Full OSM
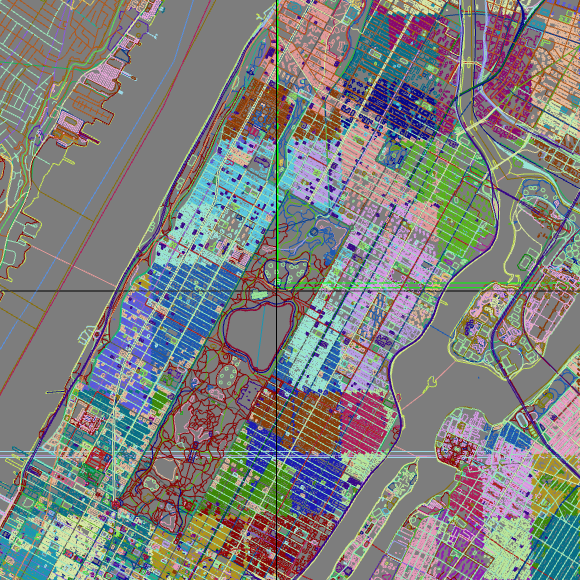
The full OSM dataset for a piece of New York around Central Park
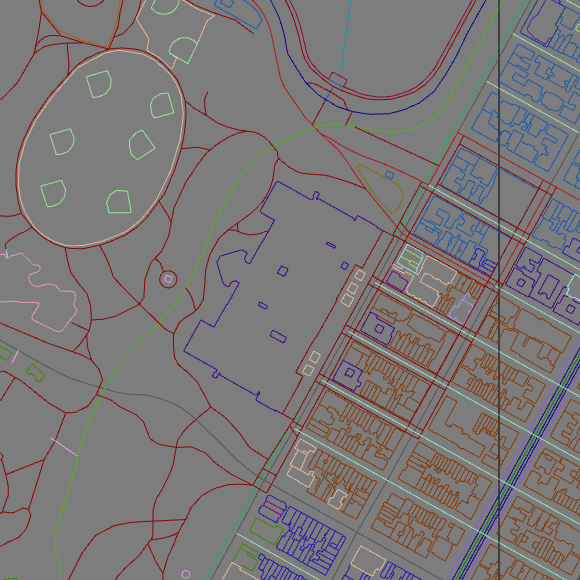
The same dataset, zoomed in at The Metropolitan Museum of Art
Layer
Osm contains a set of common tags. These are tags such as highway (covers all roads, from highways to hiking trails), building or amenity. You can pick one or more of these tags as layers to be downloaded. This is a quick way to get a good map without having too many shapes to deal with. Just check the layers you need in the dropdown. It helps if you make yourself familiar with the tags som normally uses.

The query has been set to Layer. The selected layer is leisure
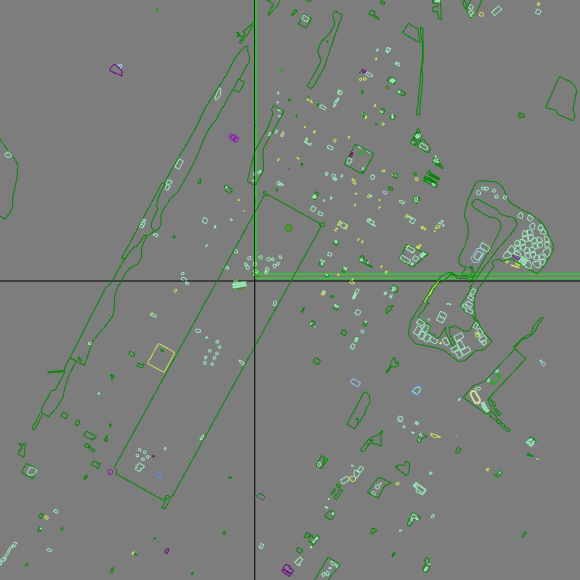
All leisure stuff in this area. Notice the bright green shapes, these are basebal pitches and tennis courts
Instead of being restricted to a single OSM layer you can combine multiple OSM layers. This helps you get the most important layers for a map, while ignoring the stuff you don’t need.
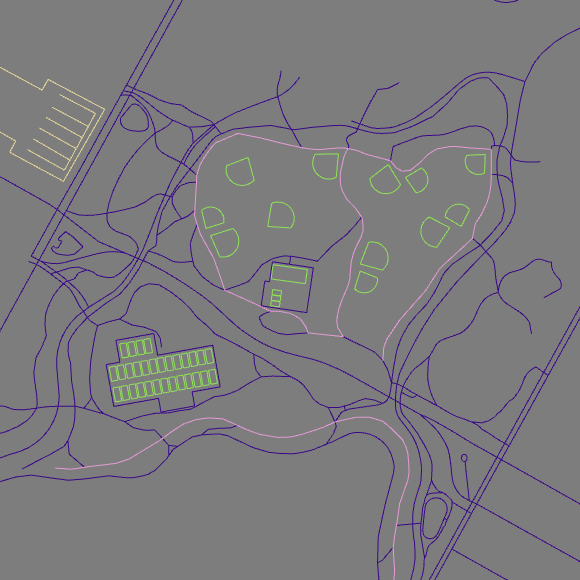
Baseball and tennis (leisure), footpaths and parking (highway) [1]
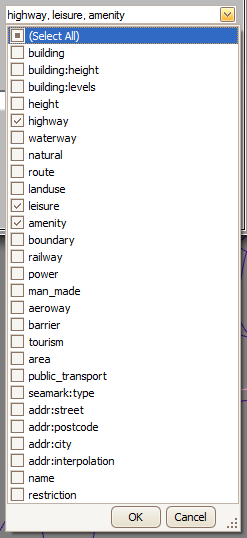
A list of available layers. You can make any combination
Key/Value
This query can get you very specific items, such as just the firestations or bike routes. Setting this up does require a bit of knowledge about osm. You need to know what you can look for [2].

To get all footways, enter highway in the first field and footway in the second.
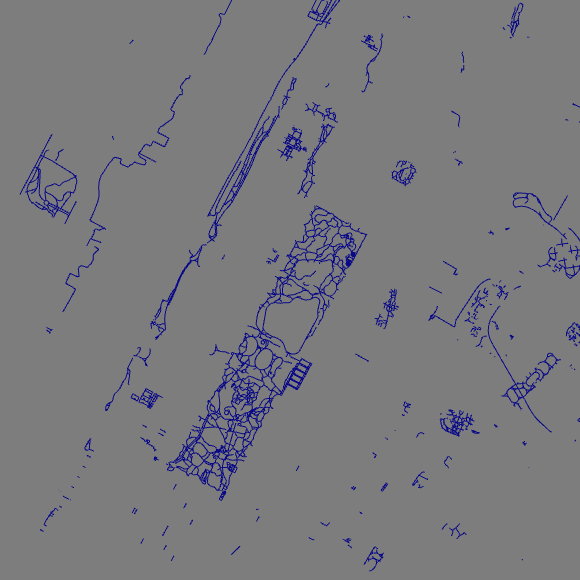
The highest concentration of footways is found in central Park
From file
If you already have osm data downloaded in .osm or .xml format you can use that file instead of downloading new data. This allows you to make pretty complex queries with Overpass Turbo [3] for instance. When loading an osm file from disk you have to take care of your location settings. An osm file has its location built in. If you set the location of your osm layer in maproom to Tokyo for instance and then load an osm file of Moscow, the osm shapes will be drawn quite far away from your map helper. Also the area settings will be ignored. The entire osm file will be loaded.
You’ll notice quite soon that if the distance between the map helper and your osm data becomes too great, 3dsMax isn’t able to draw your shapes properly.

Get a previously downloaded osm file
Terrain
OSM data can be aligned to a terrain. It works quite fast too. If you have a terrain layer in your map which has heights you can select it from the dropdown and press the Align shapes to button. Your osm data will be draped on the terrain. If you want to make the shapes flat again, use the ground plane option from the dropdown.

Apply heights to osm shapes
Adding heights to OSM data
Stylesheet
Once you have the shapes you probably want to build geometry based on them. Maybe extrude some building outlines or sweep a few roads. You can automate this process with a stylesheet. While your needs might be very specific, a stylesheet is a great way to get a head start. Read more about the stylesheets here: Stylesheet.
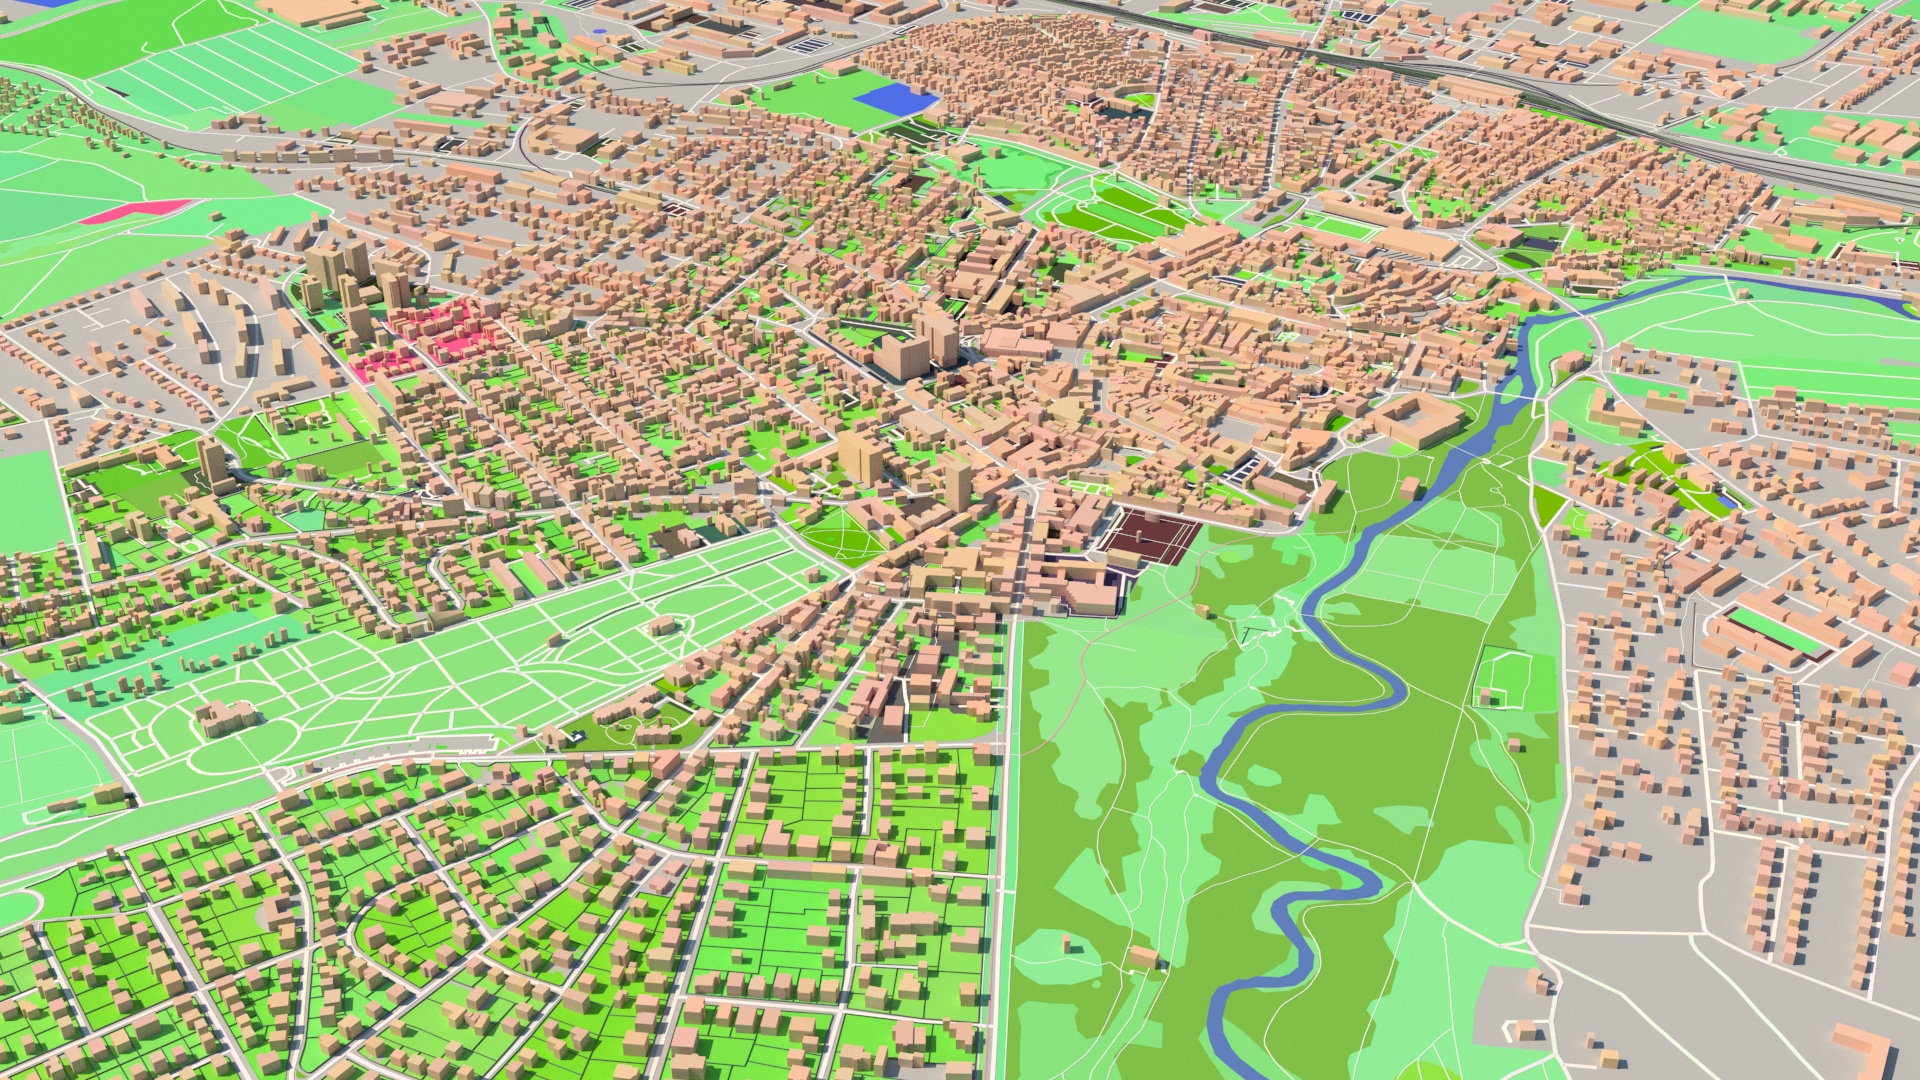
A style creates geometry like this in the blink of an eye
| [1] | North Meadow Baseball Field |
| [2] | Common tags can be found here: taginfo |
| [3] | Overpass turbo helps you make powerful and detailed osm queries: taginfo |